
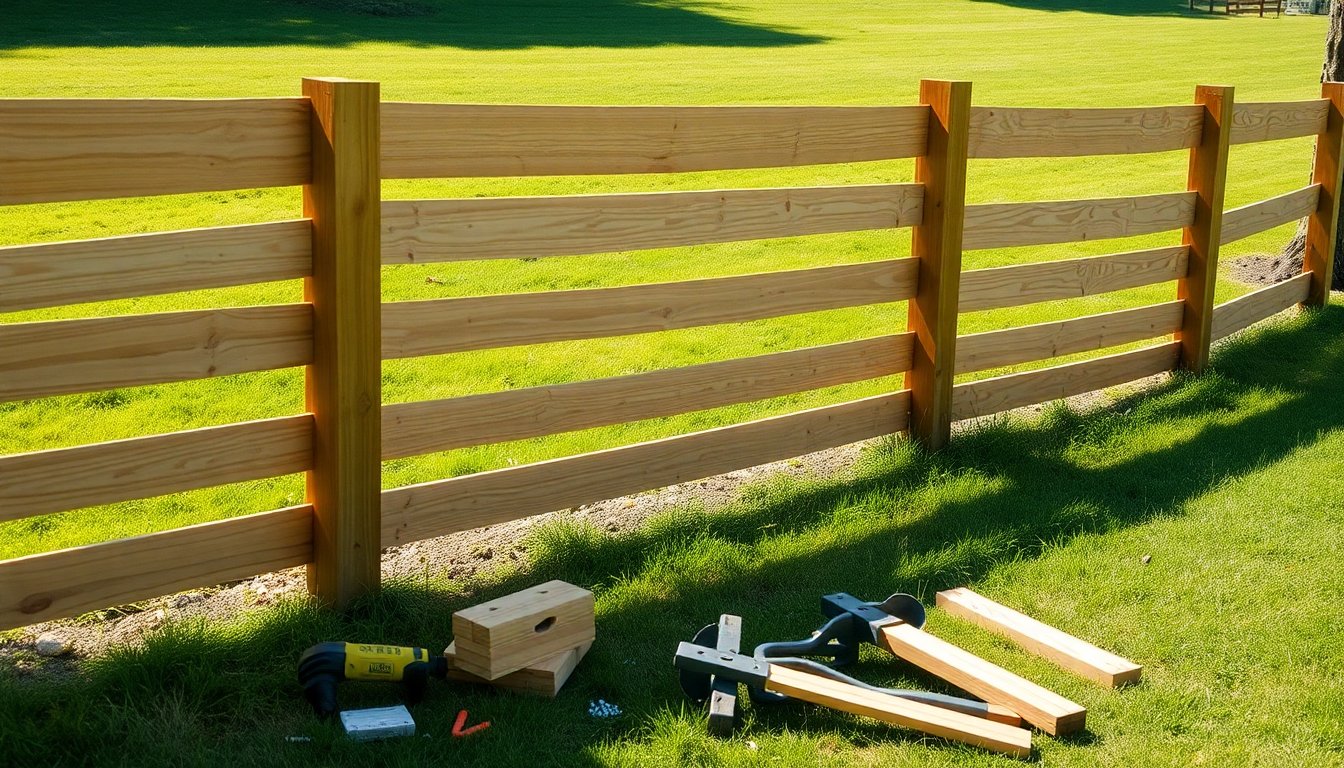
Ranch Style Wood Fence Installation Guide (2026)
Ranch style wood fence installation has become one of the most popular choices for Dallas homeowners looking to enhance their property’s curb appeal and security. At King Of Kings Fence, we’ve installed hundreds of these classic fences throughout Dallas, Richardson, Garland, Mesquite, Addison, Irving, Carrollton, and Farmers Branch — and we know what it takes to get the job done right.
Whether you’re a DIY enthusiast or simply want to understand the process before hiring professionals, this comprehensive guide will walk you through every step of ranch style wood fence installation. From selecting materials to the final board attachment, we’ll share the insider knowledge that comes from years of experience in the Dallas fencing industry.
What Materials Do You Need for Ranch Style Wood Fence Installation
Getting the RIGHT materials upfront saves time, money, and frustration later. Here’s everything you’ll need for a professional-quality ranch style wood fence installation: EPA guidelines for safe renovation practices
- Fence posts — typically 4×4 or 6×6 pressure-treated lumber, cedar, or composite materials
- Rails — 2×4 or 2×6 pressure-treated boards for horizontal support
- Fence boards — 1×6 or 1×8 pickets in your chosen wood species
- Post caps — decorative tops to protect posts from weather damage
- Galvanized screws or nails — 2.5-inch deck screws work best for longevity
- Concrete mix — fast-setting concrete for securing posts
- Gravel — for drainage at the bottom of post holes
- Wood stain or sealant — to protect against Dallas weather conditions
- Gate hardware — hinges, latches, and gate springs if needed
- String line — for maintaining straight fence alignment
- Spray paint — for marking utility lines and post locations
How Much Does Ranch Style Wood Fence Installation Cost
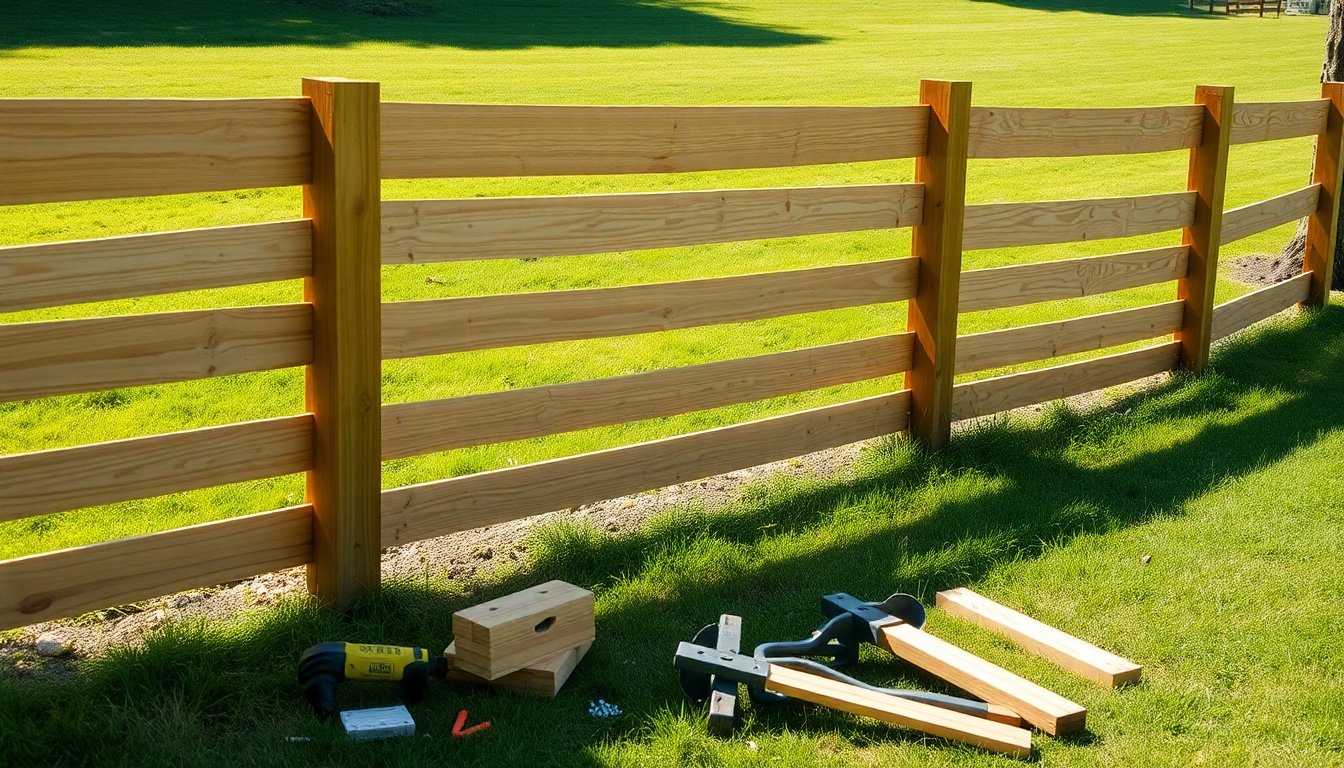
Ranch style wood fence installation costs vary significantly based on materials, fence height, terrain difficulty, and local labor rates. In the Dallas area, we typically see costs ranging from $15 to $35 per linear foot for professional installation, while DIY projects can reduce costs by 40-60% if you have the time and skills.
| Cost Component | DIY Price Range | Professional Installation |
|---|---|---|
| Materials (per linear foot) | $8 – $18 | $10 – $22 |
| Labor (per linear foot) | $0 | $8 – $15 |
| Permits and inspections | $50 – $200 | Usually included |
| Tool rental/purchase | $100 – $300 | $0 |
| Concrete and hardware | $2 – $4 per post | Usually included |
| Total per linear foot | $12 – $25 | $18 – $35 |
What Tools Are Required for Installing a Ranch Style Wood Fence
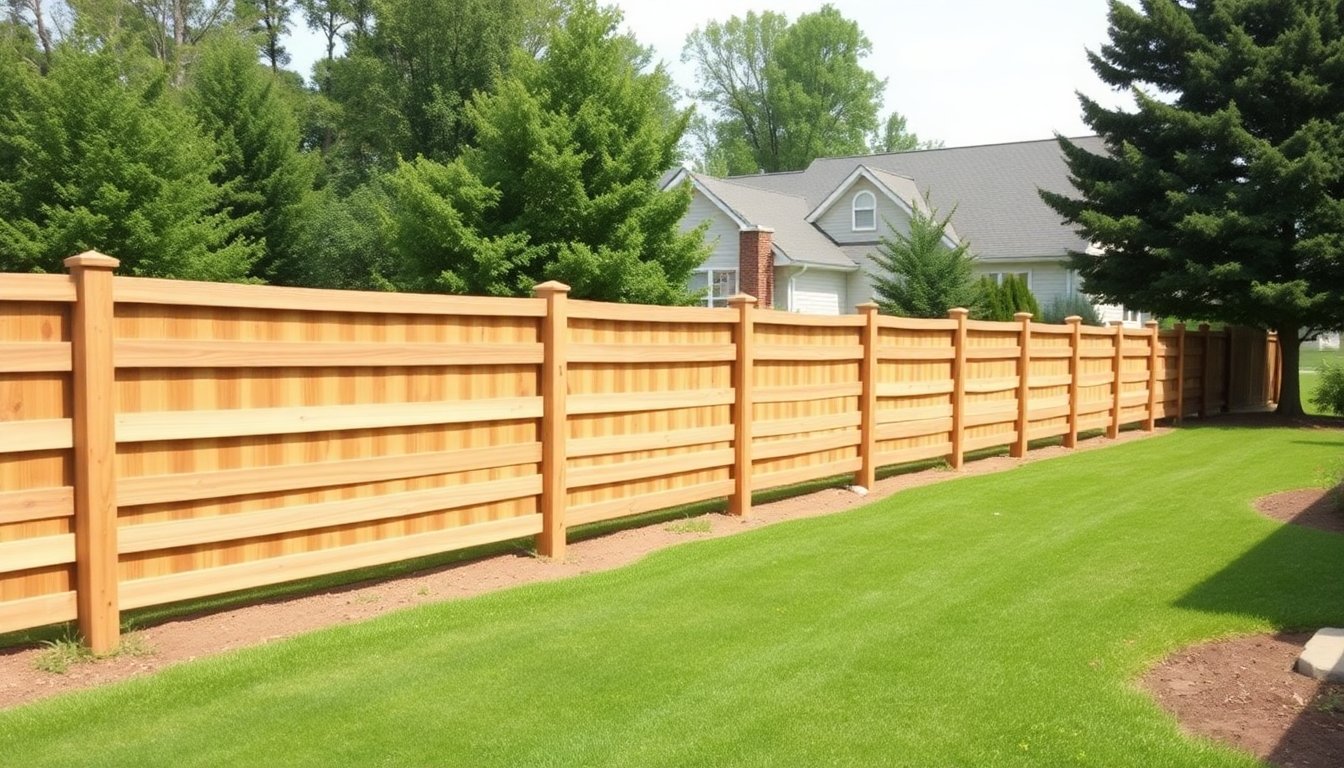
Having the right tools makes ranch style wood fence installation dramatically easier and ensures professional results. Don’t try to cut corners here — the wrong tools lead to crooked fences, damaged materials, and safety hazards. wood preservation methods
- Post hole digger or auger — manual diggers work for small jobs, but power augers save hours on longer fences
- Level (4-foot minimum) — essential for plumb posts and straight rails
- Circular saw or miter saw — for cutting boards and rails to precise lengths
- Drill with bits — for pilot holes and driving screws efficiently
- Hammer — backup for nails and general assembly work
- Measuring tape (25-foot minimum) — accuracy is EVERYTHING in fence installation
- Chalk line or string line — for maintaining straight fence runs
- Safety glasses and gloves — protect yourself from wood splinters and debris
- Wheelbarrow — for mixing concrete and hauling materials
- Shovel — for cleaning post holes and mixing concrete
- Clamps — hold boards in position while securing
- Utility knife — for marking cuts and trimming materials
How to Install Ranch Style Wood Fence Posts Properly
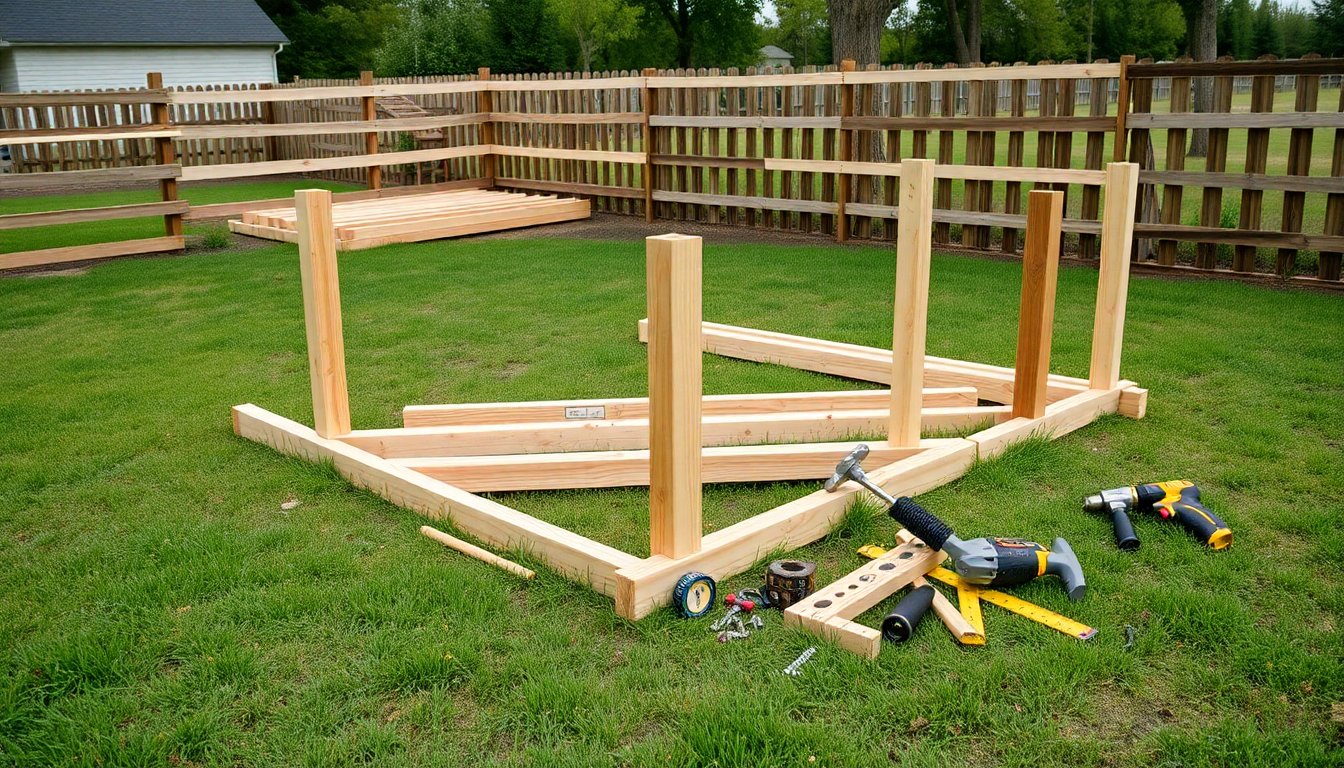
Post installation is the foundation of your entire fence — literally. Get this wrong, and your fence will lean, sag, or fail completely within a few years. We’ve seen too many DIY disasters that started with poorly installed posts.
- Mark your property lines — verify boundaries with a survey or consult property records to avoid neighbor disputes
- Call 811 for utility marking — this FREE service prevents dangerous and expensive utility strikes
- Plan your post spacing — typically 6-8 feet apart for ranch style fences, depending on your design
- Set up a string line — run it between corner stakes to ensure straight fence alignment
- Mark post locations — use spray paint to mark exact post positions along your string line
- Dig post holes — make them 2-3 times the post width and 1/3 the above-ground post height deep
- Add gravel base — pour 4-6 inches of gravel in each hole for drainage
- Set corner posts first — these anchor your entire fence line
- Check for plumb — use your level to ensure posts are perfectly vertical
- Add concrete — pour dry mix around post, then add water (it’ll cure stronger this way)
- Brace posts temporarily — use 2×4 braces to hold posts steady while concrete sets
- Allow proper cure time — wait 24-48 hours before attaching rails in Dallas heat
How to Attach Rails and Boards to Ranch Style Fence Posts
Once your posts are rock-solid, it’s time for the satisfying part — watching your fence take shape. Rail and board attachment requires precision and patience, but the results are worth it. This is where your fence goes from a bunch of posts to an actual barrier that’ll last for decades. standard measurement units
- Measure and cut rails to length — rails should span from post center to post center for maximum strength
- Mark rail positions on posts — use a chalk line to ensure rails are level across multiple posts
- Pre-drill pilot holes — prevents splitting, especially important with pressure-treated lumber
- Attach top rail first — secure with 3-inch galvanized screws or structural nails
- Install bottom rail — typically 6-8 inches off the ground to prevent rot and allow for drainage
- Add middle rail if needed — for taller fences or extra support
- Check rail alignment — use your level to verify everything is straight and true
- Start board installation at corners — work your way toward the middle for best appearance
- Space boards consistently — use a spacer block cut to your desired gap width
- Pre-drill board attachment points — prevents cracking and ensures clean installation
- Secure boards with appropriate fasteners — 2.5-inch deck screws work best for longevity
- Trim boards to final height — use a chalk line for perfectly straight cuts across multiple boards
How Long Does Ranch Style Wood Fence Installation Take
Timeline expectations are crucial for planning your ranch style wood fence installation project. The duration depends on fence length, terrain difficulty, weather conditions, and your experience level. Professional crews typically work faster than DIY installers, but everyone faces the same concrete curing requirements that can’t be rushed.
Typical Installation Timeline
| Project Phase | DIY Timeline | Professional Timeline |
|---|---|---|
| Planning and permits | 1-2 weeks | 3-5 days |
| Material procurement | 2-3 days | 1-2 days |
| Post installation (100 ft fence) | 1-2 days | 4-6 hours |
| Concrete curing time | 24-48 hours | 24-48 hours |
| Rail and board installation | 2-3 days | 4-6 hours |
| Finishing and cleanup | 1 day | 2-3 hours |
| Total project time | 2-3 weeks | 3-5 days |
Weather plays a HUGE role in Dallas fence installation timing. Summer heat can accelerate concrete curing but makes working conditions brutal. Winter projects face potential delays from rain and freezing temperatures. Spring and fall offer the best installation conditions — moderate temperatures and typically drier weather.
Don’t forget about weekend warrior syndrome either. DIY projects that look doable in a weekend often stretch into multi-week affairs once you factor in trips to the hardware store, tool rental coordination, and the reality that fence installation is physically demanding work.
Conclusion
Ranch style wood fence installation requires careful planning, quality materials, proper tools, and attention to detail at every step. From digging those first post holes to attaching the final board, each phase builds on the previous work — which is why getting the fundamentals right is so important.
Whether you tackle this as a DIY project or hire professionals, understanding the process helps ensure you get a fence that’ll enhance your property for years to come. At King Of Kings Fence, we’ve seen what works (and what doesn’t) across Dallas and surrounding communities, and we’re always here to help property owners make informed decisions about their fencing needs.


